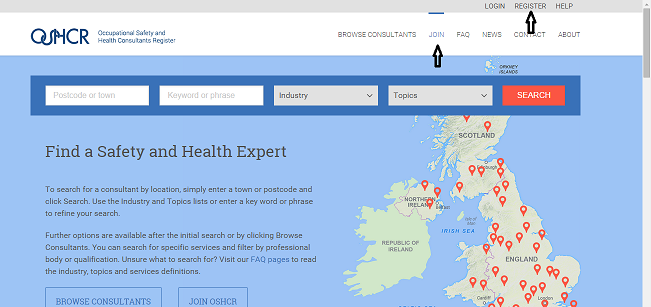
When you are ready to start the application process, click Join.

Click Join or Register to start your application
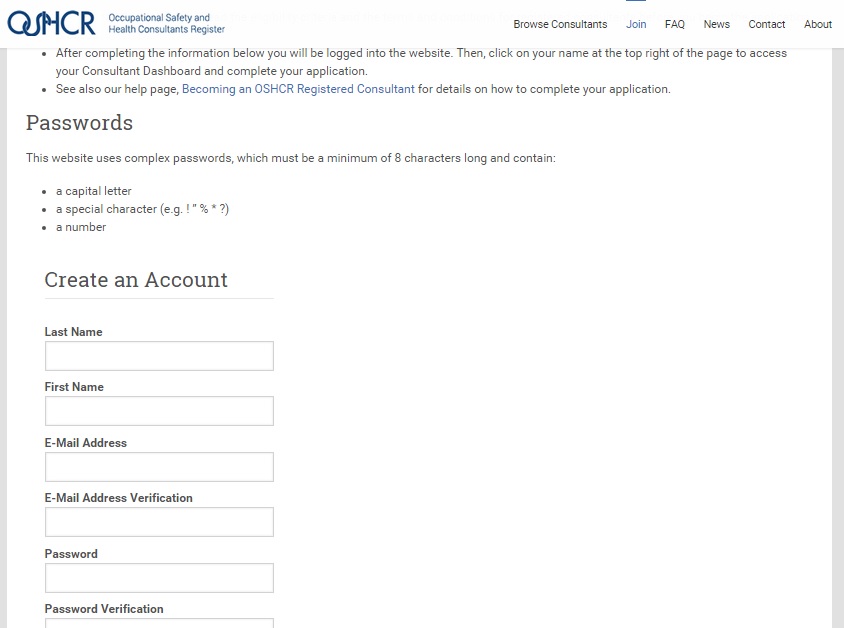
The website account creation page opens up so you can create your login.

Create a website login
Before you enter your name, please be aware that the URL for your page will use your first name and last name – www.oshcr.org/member/name-surname/. If there is already a member on the register with the same name, your page will be given an incremental number at the end of the URL – www.oshcr.org/member/ted-bloggs-2/. If you want to change this at a later date, you can update your name via profile maintenance, to add a middle initial for example.
After you have created your account the website will return to the page you had been on prior to clicking Join. Look up at the top right corner of the website – this will have changed to show that you are now logged in.

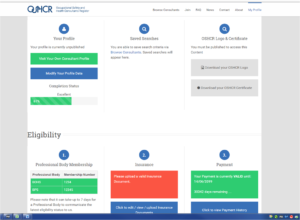
Consultant Dashboard
Your profile page cannot be viewed until you have entered key information. Click on Modify Your Profile Data to go to the profile maintenance pages.
Don’t worry if you don’t have all your information to hand. You only need your contact details and professional body membership number to get started. Your public profile will be available as soon as you have completed the payment process and uploaded your PI insurance document, and your professional body membership has been validated.
You can save changes as you go along.
Date of Birth needs to be completed as this is used in the validation of your professional body membership details. Please note this data is only used for admin purposes and is not visible on your public profile.
Select your Professional Body, enter your Membership Number and select your Membership Level. Enter the date you joined and the date you became eligible for OSHCR.
You can now save your profile record using the Save button at the top of the page. The system will try to validate your membership details. If successful, your status will be updated accordingly. If your membership cannot be verified automatically, your application will be passed to a member of the OSHCR Admin team for manual validation.
You can view your public profile before it is available to the public. Go back to the Dashboard and select the Visit Your Own Consultant Profile option.
NB – If there is already a document present you will need to delete this first by clicking on the red dustbin icon.
Click ‘Select File’ and locate your documentation. This must be in PDF format and the filename should not contain any spaces or special characters.

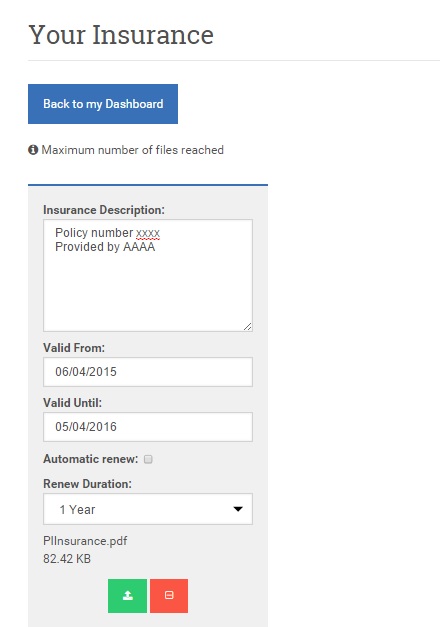
PI upload page
Enter brief notes and your start and renewal dates. Press the green ‘Start Upload’ button to import your document.
If you have selected the wrong document, click the red ‘Cancel Upload’ button and start the process again.
This document is only visible to the yourself and the OSHCR Admin team. It is not available to the general public.

Fill in the required fields on the Worldpay form and submit your payment.
Please be aware that your membership renewal date is set to 12 months from date of payment. You should ensure that your professional membership has been validated and your Professional Indemnity insurance is uploaded before you make your payment, as you will not appear on the register until these elements have been completed.
You can add more information to your profile at this point or you can activate your profile, if your professional body membership was successfully verified.
To activate your profile, go to the Settings tab and publish your account.
Your profile will now be available to the general public. To check this, log out and use the search facility to find your profile or navigate straight to your profile URL.
